Although DSLR cameras are still the preferred tool for professional photographers, your iPhone and the majority of Android devices can take excellent pictures with photos just like a pro. The blur effect in portrait photographs is quite important when you want to focus all attention on the subject and keep it away from the backdrop. You may blur part of image online on older iPhone models as well, despite the fact that the majority of new iPhones come equipped with strong camera hardware and software to assist you to take excellent portrait shots. Check out the top 5 ways to blur the backdrop of an iPhone photo if you want to enhance your photography game and make your subjects pop.
Why do we need to blur part of image online or the background on iPhones?
The most frequent justification for blurring background or portions of a picture is to make the subject stand out in a portrait. However, blurring an image can also be used to obscure faces or make license plates difficult to read. Whatever purpose you choose to use it for, blurring photos on your iPhone is a handy ability to have. Additionally, it works well in scenes with busy backgrounds. Blurring the background will make your subject stand out much more clearly.
Enhance iPhone Shooting Skills to Take Blur part of image online:
It’s simple to achieve a great blurred background when photographing with your iPhone. The Portrait mode in the Camera app on most iPhones makes it simple to blur the backdrop of your photo for an artistic, professional-looking portrait.
- Open the Camera app, then select Portrait from the bottom menu.
- Frame your picture.
- Tap the “f icon” in the top right of the screen before taking the picture. The screen’s bottom should show an “f stop slider”.
- Slide the slider to select the desired level of background blur. The blur will be more obvious the smaller the number.
- Take a picture when you are satisfied.
Role of iPhone Apps in Blurring process:
An excellent technique to make your images look professional is to use a blur background tool. But how can you choose which blur backdrop program to use when there are so many options? You may find out which of the top blur background apps is best for you by reading this post.
Fotor Blur App:
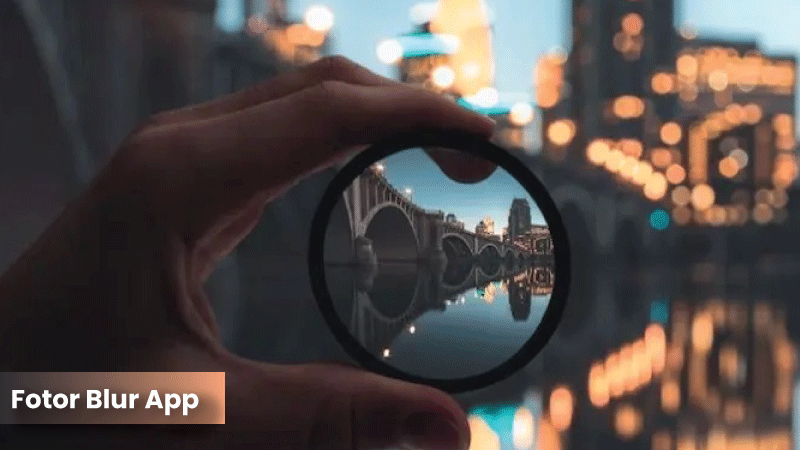
The blur and background blur effects are two of Fotor’s blur options. They can all accommodate your needs for image blurring. Start blurring a picture by doing the following:
- Step 1: Upload your photo using Fotor’s photo editor as the first step.
- Step 2: Select Blur from the Adjust menu. You can pick between a circular or linear blurring effect. By using the hazy circle, “Circular” enables you to concentrate on a certain area of your body. You can use “Linear” to highlight a particular area of your image in a tiny horizontal model.
- Step 3: Narcotize the whole circle to the area you want to emphasize if you select “Circular.” When you select “Linear,” you can move the white dots on the canvas to focus on different areas of the blur linear box. Additionally, you can shuffle the slides for Size to alter the clear area’s size. To change the blur’s strength, slide the Blur Intensity slider.
- Step 4: Alternatively, if you need to blur the background of the complete image, choose “Background Blur” under “Adjust,” and the system will do it for you.
- Step 5: If you approve the update, click the blue “Apply” button. After that, you can export or share your picture.
Snapseed:
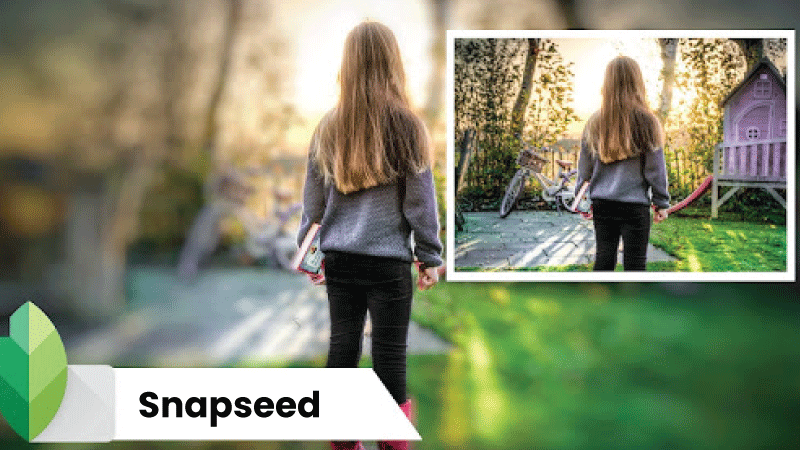
Snapseed must be your first option if you’re looking for free picture editing software of the highest caliber. This captivating tool offers unequaled features and capabilities. Both manual and automatic adjustments can be made to the project’s exposure and color. Snapseed has the “Lens Blur” option for blurring the background of a photo. The blur’s shape can also be modified by the user. Circles, pentagons, hexagons, hearts, and other shapes are available. Additionally, the designer is free to edit the image’s brightness settings and add text.
If you don’t know how to blur a portion of an iPhone shot using Snapseed, follow these instructions:
- Step 1: From your iPhone device, open the “Snapseed” app. To upload the appropriate photo, tap anywhere on the screen after that.
- Step 2: The image expands. To continue, select “Tools” from the menu. From the list of features that appears, select “Lens Blur.”
- Step 3: From the bottom panel, modify the blur strength, transition, and vignette strength. The blur style’s shapes can also be modified at the discretion of the user. To complete the process, tap the tick. After selecting “Export,” select “Save.”
Lens Blur tool:
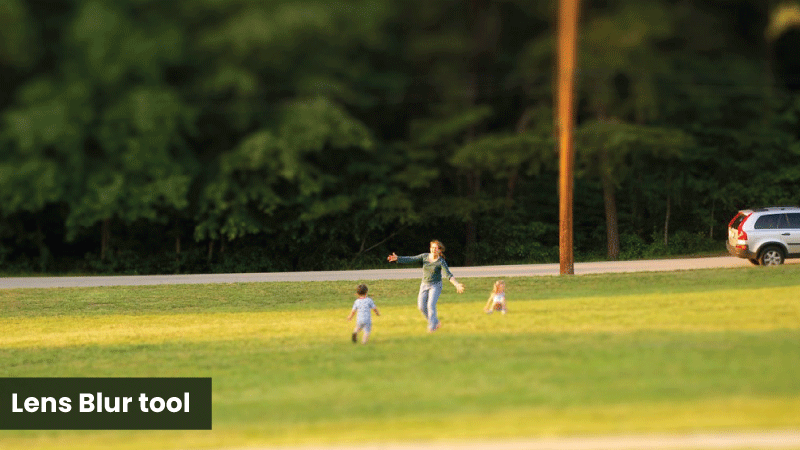
You can use the Lens Blur tool to blur part of image online and the background of your picture. This tool may be used to take any type of shot, but because of its incredible bokeh-producing abilities, it shines in particular on nighttime photos with lights. Go to the Photo Editor and upload your preferred photo to utilize this feature.
Step 1: Choose Lens Blur:
Go to Lens Blur in the Edit tab. Beautiful bokeh will blur the entire image, but we’ll show you how to add it so that it only affects the backdrop.
Step 2: Isolate your subject:
The Isolate Subject tab should be clicked after the Erase tab. Instantaneously, a preview with the topic our A.I. identified and the background red-masked displays. Select the check mark-shaped button.
Step 3: If necessary, modify your blur effect:
You’ll see that the Adjust tab for this effect has more options, allowing you more control over your blur. In the Adjust tab, you can change settings like Blur Amount, Bokeh Intensity, Blade Curvature, and Blade Count.
You can modify the blur by adjusting the slider for Blur Amount. More intense light orbs are produced when the Bokeh Intensity is increased, but less intense orbs are produced when it is decreased. The Blade Curvature slider regulates the bokeh’s shape; moving it to the left creates a bokeh with sharper edges and to the right creates a bokeh with rounded edges. The number of blades of a camera lens that govern the aperture is referred to as the “Blade Count” finally. The bokeh will appear softer the more blades there are.
Play around with each of these options to get the perfect blurred background for your picture. Finally, apply by clicking the blue checkmark.
Step 4: Save your image:
When you’re satisfied with the way your photo turns out, click Save at the top of the page and select a location, such as your computer, Facebook, Dropbox, etc.
Blur Photo Effect Background:
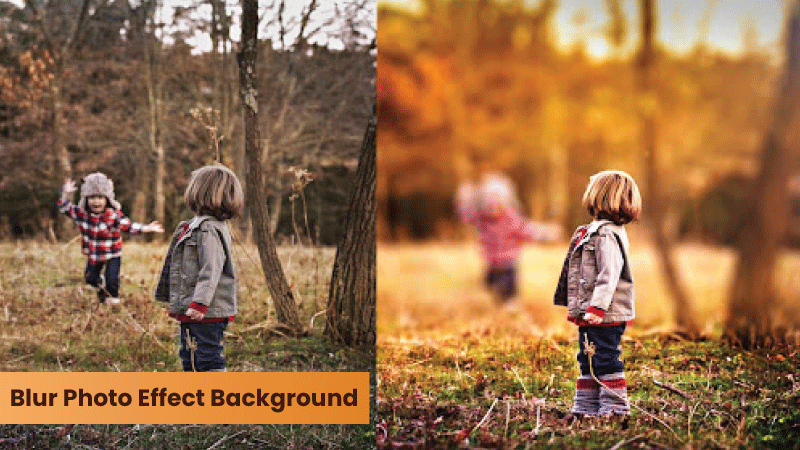
You can blur part of image online or specific sections of your photos if you have the Blur Photo Effect Background tool. For example, blurring a face, the background, or any other element you wish to conceal in a photograph. The steps to edit a photo or blur a special section are given below:
- Step 1: Download it and install it on your iPhone as the first step.
- Step 2: Open the program and select “Blur” from the list of editing tools.
- Step 3: From the library, choose the picture you want to alter.
- Step 4: If you’d like, you can even crop it. When finished, select “Done.”
- Step 5: Select the blur effect you wish to add by tapping “Effect.”
- Step 6: You can choose a motion or blur effect in the free edition.
- Step 7: Adjust the brightness of your photo by sliding the slider up or down.
- Step 8: Enlarge your image with your squeezed fingers to get a more finely-grained blur.
- Step 9: To add a filter, select “Next” from the menu.
- Step 10: When you are happy with the result, hit “Upload” to save the blurry photo to your iPhone’s library.
Photoshop Express:
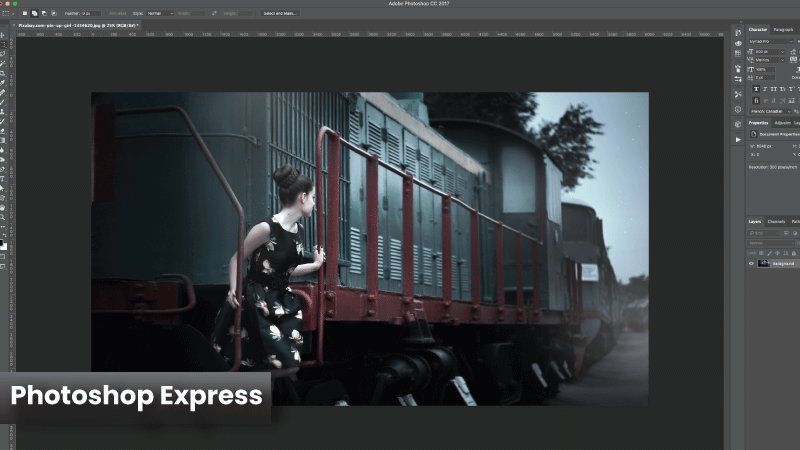
You can blur pictures wherever you like using the Photoshop Express blurry program. It can be used to produce stunning photographs of a high level of professionalism based on your specific blur requirements.
- Step 1: Download and install the Photoshop Express app on your iPhone.
- Step 2: Open the app and choose a photo from your collection to modify.
- Step 3: Select “Adjustments.” Click “Blur” after swiping down.
- Step 4: A circle will show up on your screen. Over your photo, drag it.
- Step 5: Use the slider to change the blur’s intensity. With your fingertips, adjust the circle’s size.
- Step 6: To save the photograph to your library, select the “Upload” option on your screen.
PowerPoint:
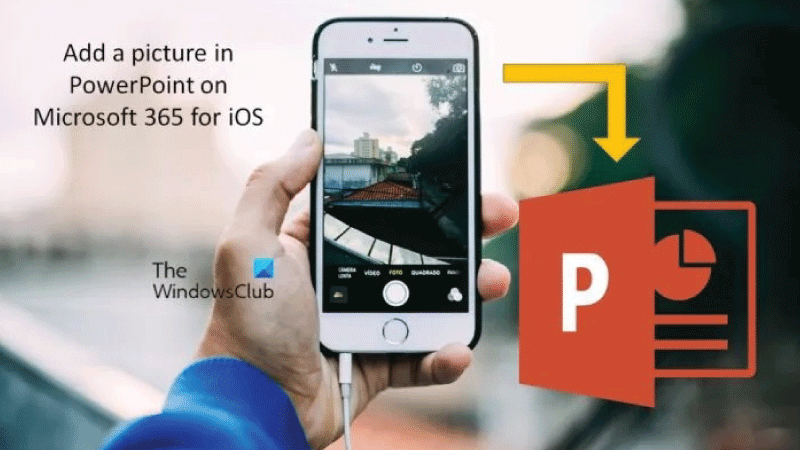
Powerpoint is a program intended to produce slide shows, but it also offers some additional photo editing tools, like the ability to blur part of image online, without requiring you to download any additional software. I’ll explain how to apply a blur effect to an image using PowerPoint in the passage that follows:
- Step 1: Click “Insert” and choose “Shape.” By doing so, a shape will be drawn around the region you want to blur. On the Format tab, choose Shape Fill to fill the shape with a color that matches the chosen area.
- Step 2: Select Soften Edges under Shape Effects. Apply the effect to the image after adjusting it.
- Step 3: Click Group after selecting the area and the remainder of the image by using the Ctrl key on your computer. This image is now available for use in your presentation.
Conclusion:
It’s useful to understand how to blur part of image online or specific areas of a photo. We discussed five methods for blurring certain portions of a photo in this article, including PowerPoint, Photoshop, an internet tool, and photo-blurring apps. It is hoped that the tips in this article will help you create the greatest possible blurry photographs and fantastic designs. Enjoy what God has made.