When photo editing is a concern and you people are in search of a photo brightener editor to brighten your images. Several editors are available offline and online if you want a king in the business. Then the name is Adobe Photoshop.
Since the launch of adobe is the only software that has its league no one even comes close to him. Photoshop considers the best software for photo editing by professionals it’s highly recommended and used in the industry too.
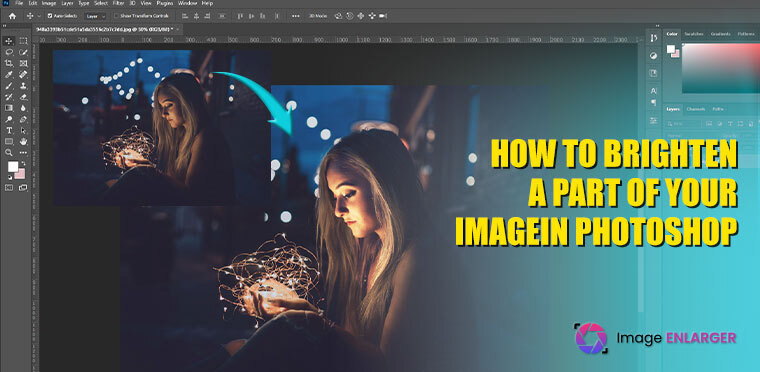
Here in this article, we‘ll go to learn how to Bright Photo in Photoshop, There are several ways through which we can brighten a part of our image using this software including camera raw, lawyer adjustment, etc. Besides these, there are more methods to brighten images like a Tone curve and layer adjustment. Here we‘ll discuss in detail all these methods. Now on to the main part
How to brighten photos by using Photo Brightener Tool?
There are many ways through which you can Bright Image Online in photoshop. Here are some of them as you follow:
Camera Raw
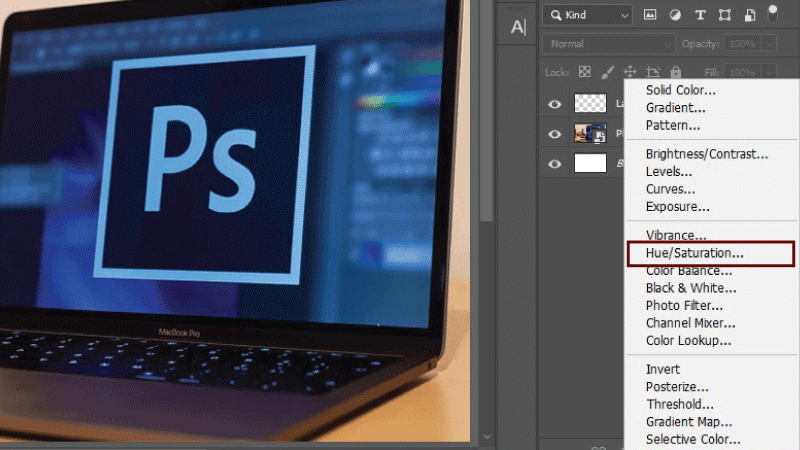
Camera raw is one of the Photo Brightener tools online that allow people to brighten their images. It is one of the fine features of Adobe Photoshop that you can use to brighten up your images. This feature you can also use the as a smart filter on your images. Look at the complete guide in various steps.
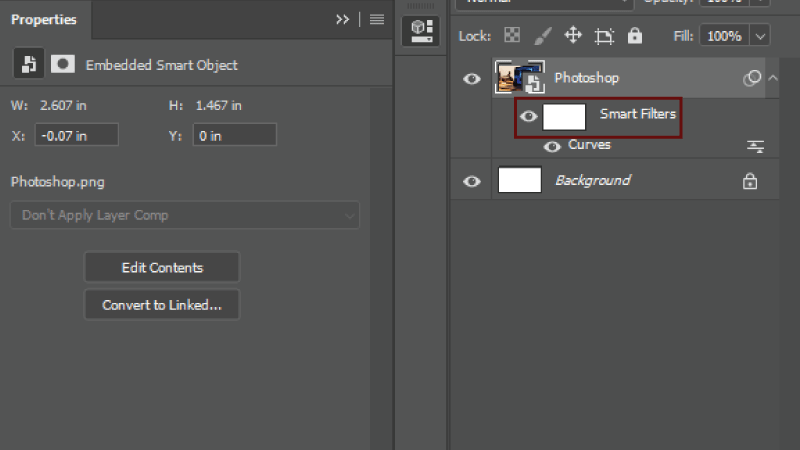
i) Convert to smart Object
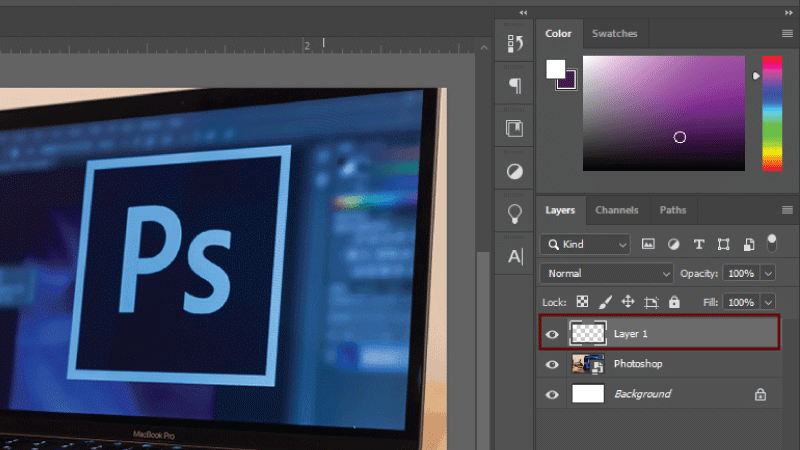
Here is the smart guide to using the camera raw feature for brightening images. First of all, opens the image in the editor that you want to brighten. Then move your arrow towards the layer and select the option convert to smart object.
After converting the photo into a smart object we do change the image layer manually and that’s how the camera raw filter is applied to your image.
Next after converting the image into a smart object go to the filter and select the camera raw feature to use camera raw. There is also a shortcut to this feature Shift+ Control + A on windows and if you are on Mac then it is Shift + Command + A.
ii) Camera raw filter
As seen in this picture, the camera raw filter has many options to enhance your image. Because we are learning to brighten the part of the image we’ll use a curve.
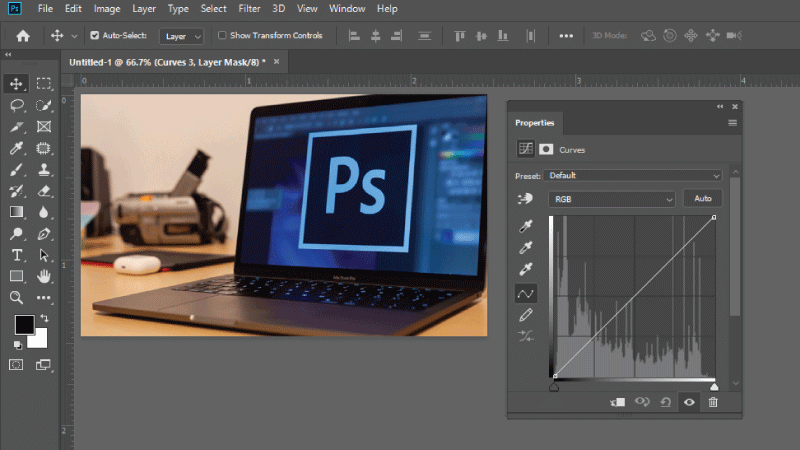
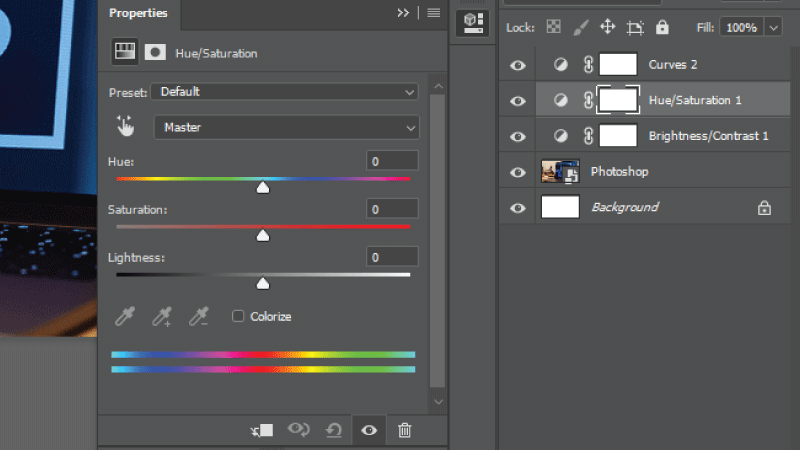
iii) Use a curve
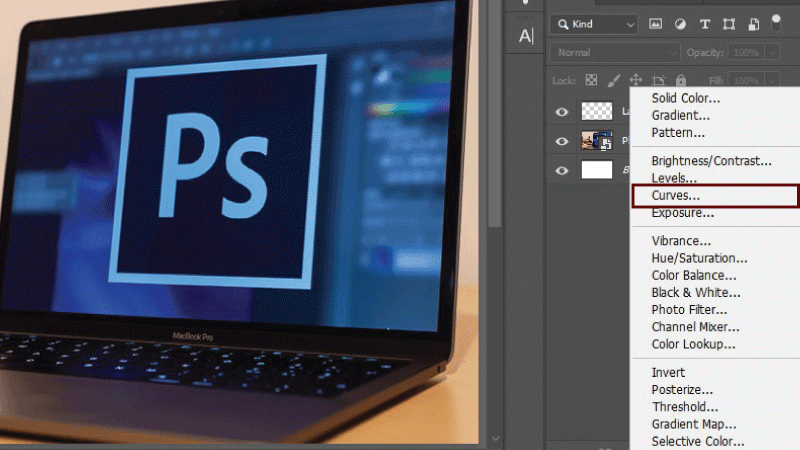
We‘ll go with simple basic and curve tool. First, click on the curves button to open it. This curve option is almost present in every editor and is very simple to use. If you take that curve upward the image begins brightening as the opposite downward darkens.
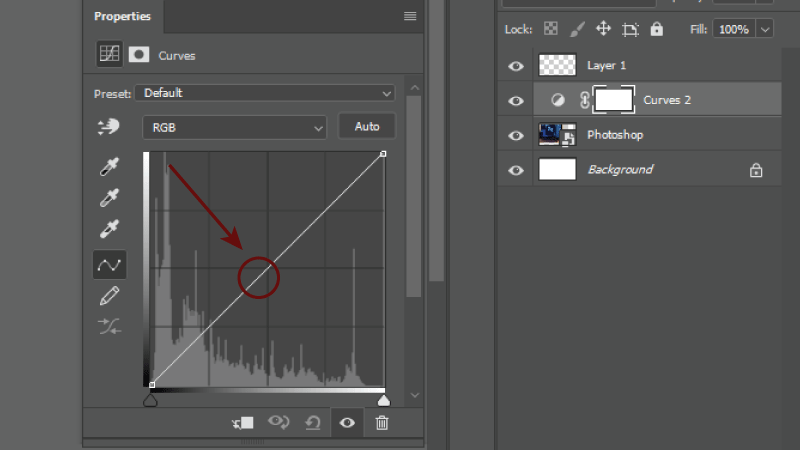
For simple and automotive brightness just click on the middle part of the curve and drag it upward and it brightens the image. Overall it enhances the exposure of all images without disturbing any highlights or shadows.
iv) Adjusting other details
After the completion of the curve job, we move onto the next panel upward to adjust image highlights, shadow, and other detailings and more things to make a perfect bright image. This process makes sure that doesn’t any damage occur to your image detailings through this brightening. Adjust the slider of the effect of your desire.
Once you get the result of your desire click the ok button and your change is now applied. Since your image is converted to a smart object. And even if you want to do more changes double click on the camera raw filter and you came to the editing of the image.
Here are the before and after effects of an image as follows.
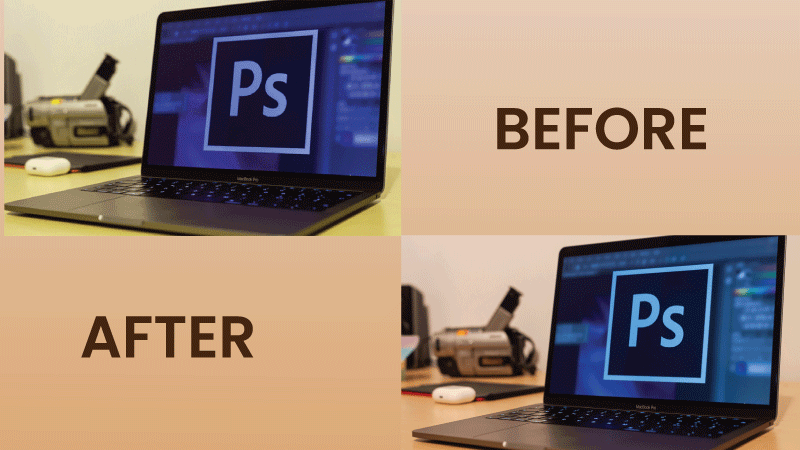
Photo Brightener Brightening method with a brush
Brightening images with the brush is another great technique to make the pic more brightening and enhanced. As earlier we discussed in the detailed tutorial we brighten a part of the image using a curve and camera raw filter. Discussed the all steps now here we are looking at the way to make our images brighten by using the brush method. This is another fine way to make any image brighten effortlessly without losing image resolution and other details.
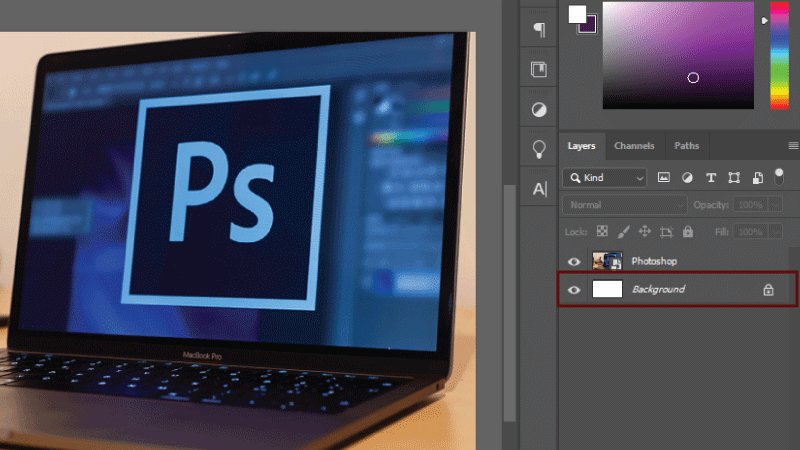
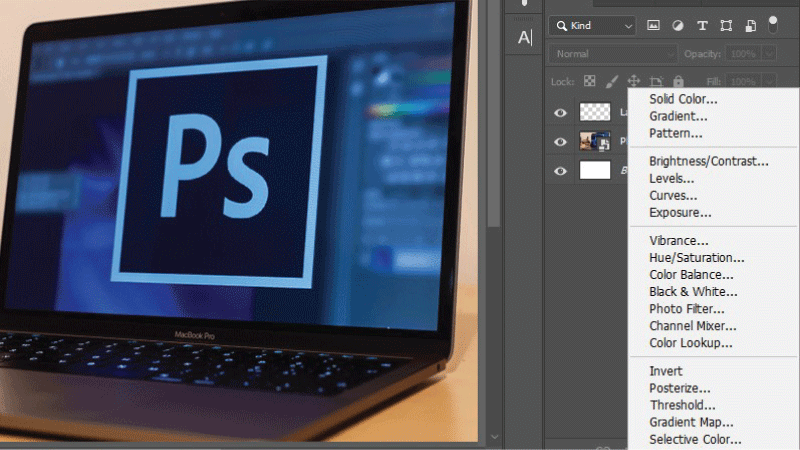
1. Add an adjustment layer
It is the basic thing, first of all, we have to add another layer to the adobe window to brighten our image. Just go and click the layer icon which presents the bottom of the layers panel and select the level and here our first step is finished.
2. Do level settings to brighten and add contrast
In the panel of properties, take that white slider directly to the behind histogram towards the left side and apply a minor tone of white here. Ans appear like mask view which provides you with an evaluation of the areas where you applied effect.
Drag the gray slider left to fluctuate and brighten the mid-tone of the image. Hold and move that black slider to turn to darken tone into white and brighten it.
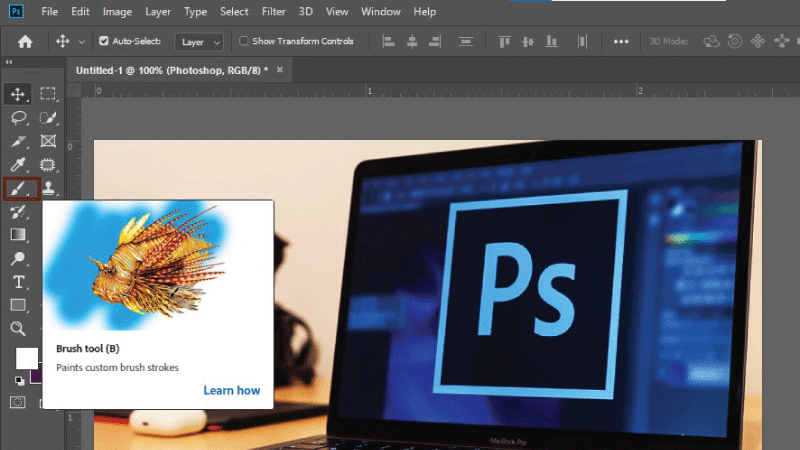
3. Control the overblown part with the brush
Pick the black color in the foreground and brush the tool from the toolkit. Make sure the adjustment has to be masked on the layers panel. Then colored it black where you want to reduce the brightness and overdo part.
Lower the opacity of the brush tool to color the adjustment layer that we created masked this layer with gray. Where you didn’t want brightness and that’s how another destroyed part recovered.
If there are nominal parts left that didn’t recover and in case change of mind then just change the foreground color in the toolbar to white. And paint the white on the masked layer.
4. Save your work
Now your all editing part is done save your work in your desired format. Recommended you people save it in the PSD format allows you to re-edit the project.
Conclusion
If you are looking for the best guide to brighten a part of your image. This guide is the perfect learning for discussing the best photo brightener and brightening part of the image in detail. Hope it will turn out to be helpful for you.