The majority of picture-viewing programs include a feature that allows you to alter the size of images. Here are some of our go-to Windows image scaling programs. A built-in alternative, a few third-party programs, and even a browser-based utility have all been chosen. Perhaps you need to post a scaled-down version of a photo to Facebook (they do it automatically and poorly when you upload) or another social media platform. Perhaps you should send an email with an image that isn’t so absurdly huge. Or perhaps you need the ideal image size to insert into a Word document or blog post. Whatever your motivation, resizing an image is quite simple. Whether you need to resize images or a large number of them at once, we’ve compiled our top Windows tools for the job.
How to Resize Images in Windows?
You can quickly and easily resize photographs using the Windows Photo Galleries photo editing features. It is simpler for business owners to share images of their products and services with consumers and clients by resizing photos to certain proportions before uploading them to a company website or social media account. You have the option to manually or automatically resize images in Windows Photo Gallery, based on your preferences.
Ways to Resize Images on Windows
Each photo resizing tool, whether online or offline, has advantages and disadvantages of its own. Here are some resources for quickly resizing images.
All you need to do to start resizing pictures on your Windows PC is download and install any of the free tools or programs available. Learn how to resize photos on Windows using multiple tools in this step-by-step tutorial.
1. Photo app:
Occasionally, new features are added to the Photos app. For instance, the Photos app can edit photos, cut up films, or combine them. And the most recent achievement is the capability to resize photos. This article explains how to resize photos in Windows 10’s Photos app.
Step 1: Double-click the image file you want to resize. The Photos app will open because it is set to be the default viewer. If another program, such as Windows Photo Viewer, has been set as the default viewer, right-click on the image file, choose “Open with,” and then choose “Photos.”
Step 2: In the Photos app, select the image you want to resize by selecting it using the right-click menu.
Step 3: Pick one of the three pre-configured combinations depending on your needs. Unfortunately, unlike other image resizing apps, this one does not let you select a custom dimension. We can only hope that Microsoft will provide that capability in a future release.
Step 4: Specify the image’s filename and destination folder. Be careful not to unintentionally replace the original file.
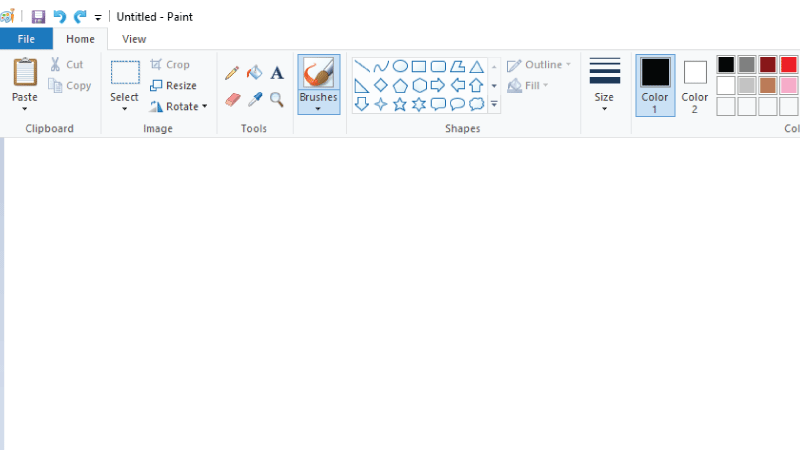
2. Image Resizing in Paint:
In many programs where you can add photographs, you can also resize or otherwise modify the image. Microsoft Paint is a program that comes with your Windows laptop or desktop computer that gives you a variety of options for image editing.
Step 1: Make a copy of the image you wish to resize.
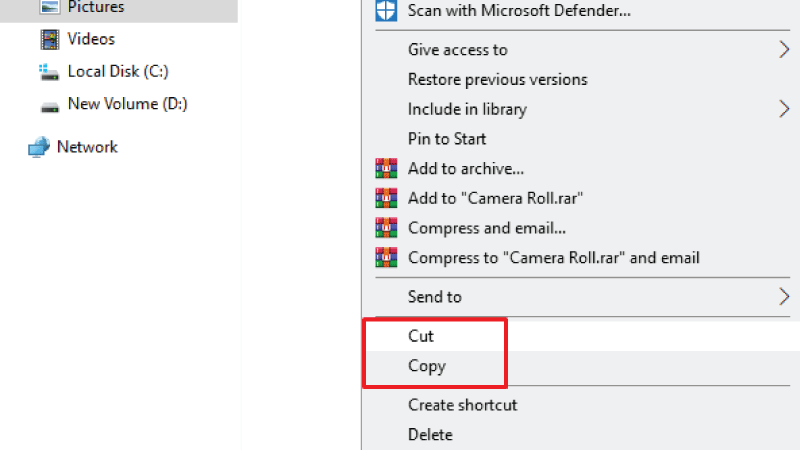
Then, right-click an empty spot in the folder or on the desktop and select Paste. Navigate to the image you wish to resize, right-click it, and then choose Copy from the drop-down menu. The original image will be changed if you don’t make a copy of it first.
Step 2: Right-click the copied image:
By doing this, a drop-down menu will appear.
Step 3: Select Open with:
The drop-down menu contains this choice toward the center. The menu will pop out.
Step 4: Select Paint from the pop-out menu:
By doing so, the Paint software will open the image you’ve chosen.
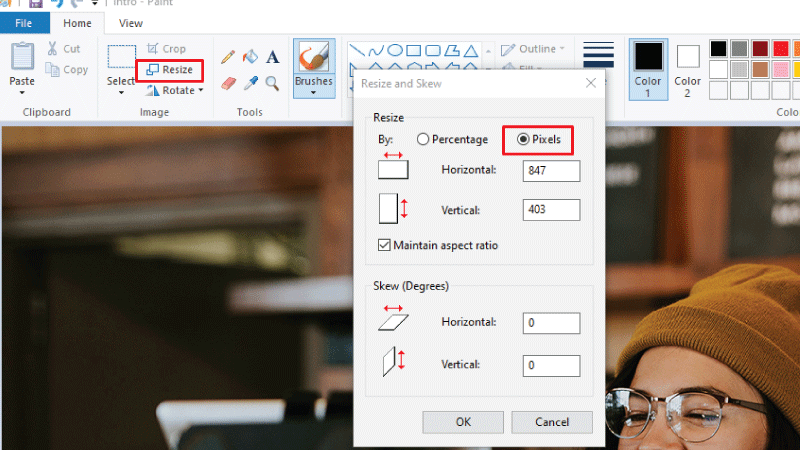
Step 5: Select Resize:
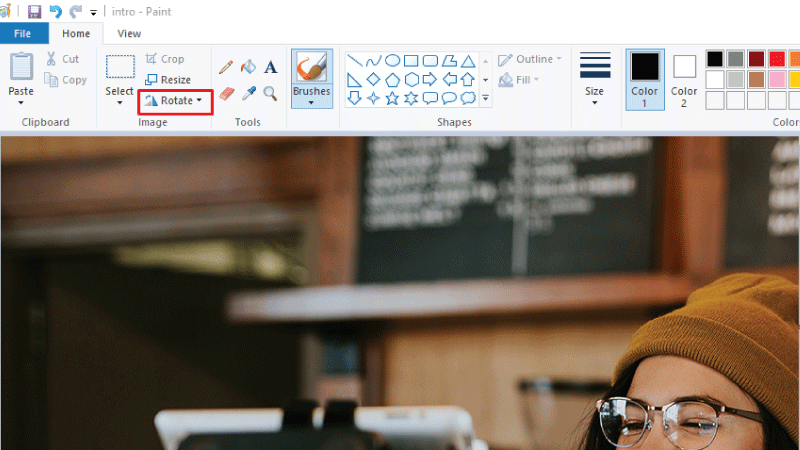
Select Resize from the menu that appears when you click the “Image” section’s middle-right side in the Paint window.
Step 6: Verify that “Percentage” has a black dot next to it:
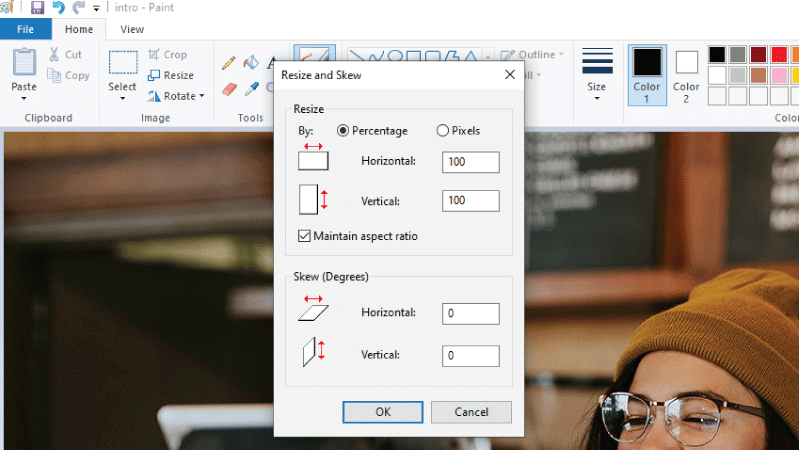
If it does not, click the circle next to it to guarantee that the changes to your image will be expressed as percentages. Vertical and horizontal values for your image start at 100; altering them to “75” will scale it down to 75 percent of its initial size. Click the circle next to “Pixels” if you know the precise horizontal or vertical pixel count you need.
Step 7: Tick the box next to “Maintain aspect ratio”:
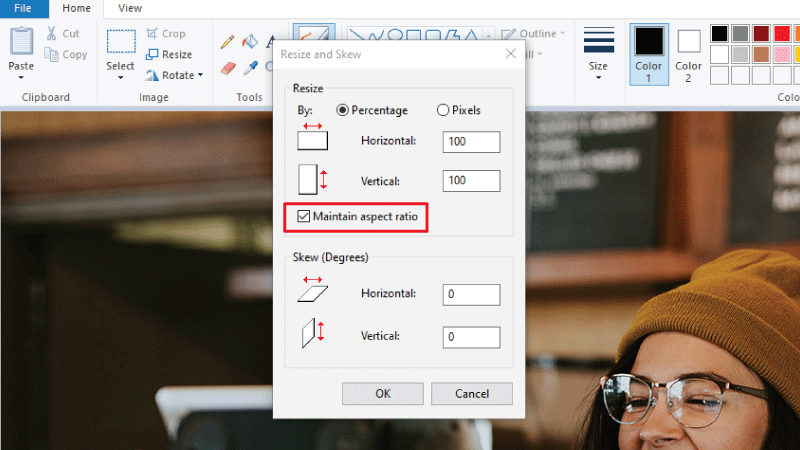
If the box next to “Maintain aspect ratio” is not checked, you should do so to ensure that any changes you make to one aspect of your image, such as its vertical size, scale with the other aspects. If you’ve already checked this box, move on to the next step.
Step 8: Resize your image:
In the “Horizontal” text box, enter a number between 1 and 500. Your image will either increase while retaining its dimensions if the number is more significant than 100 or shrink while maintaining its dimensions if it is less than 100. When resizing with pixels, enter the desired amount of vertical pixels in the “Vertical” text box. If it’s necessary, you can also change the value entered in the “Horizontal” text box and uncheck the “Maintain aspect ratio” box.
Step 9: Select “OK”:
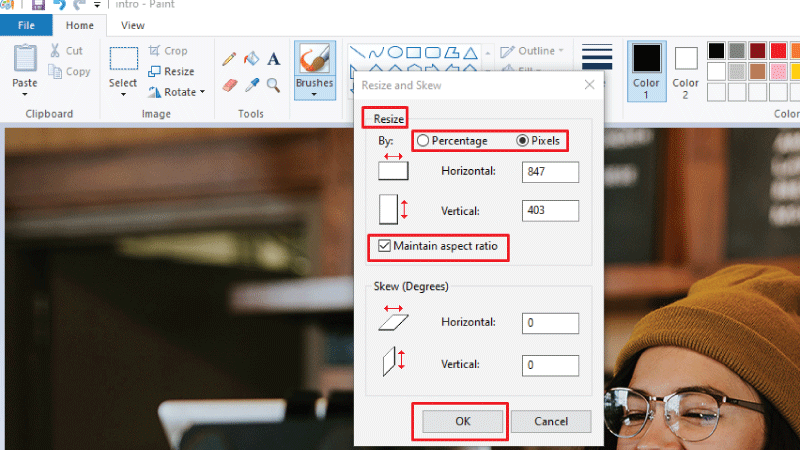
By doing this, the image will reflect your adjustments.
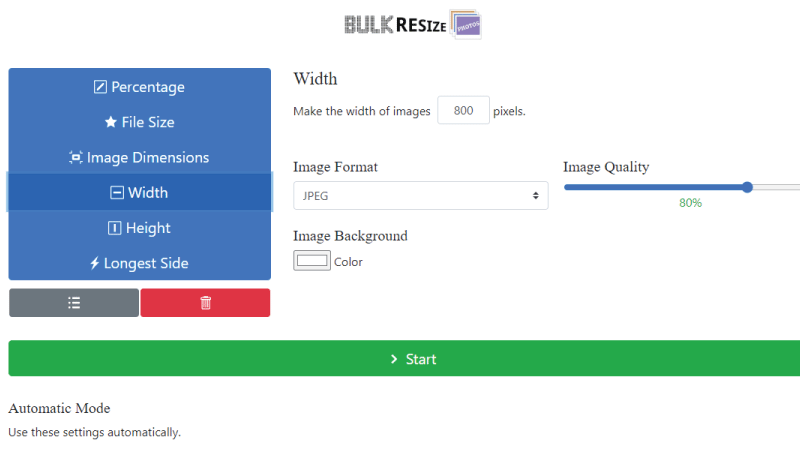
3. Third-party app: BulkResizePhotos – Resize images online free:
You can visit the BulkResizePhotos website if you’re seeking an online tool to resize numerous photographs simultaneously. It can resize photos for Windows 10, Mac, Linux, or any other platform without installation because it is an online utility. All you have to do is access the website, upload your photographs, and choose the resizing options.
Step 1: Upload Your Photos to BulkResizePhotos From Your System:
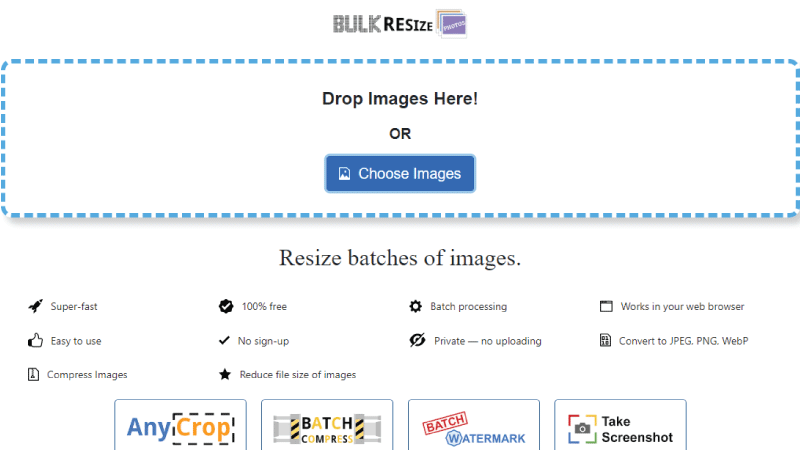
You can simply drag and drop your photographs onto the BulkResizePhotos website from any browser to get started. To manually load your pictures, you can also click the “Choose Image” option.
Step 2: Online image resizing of your loaded images:
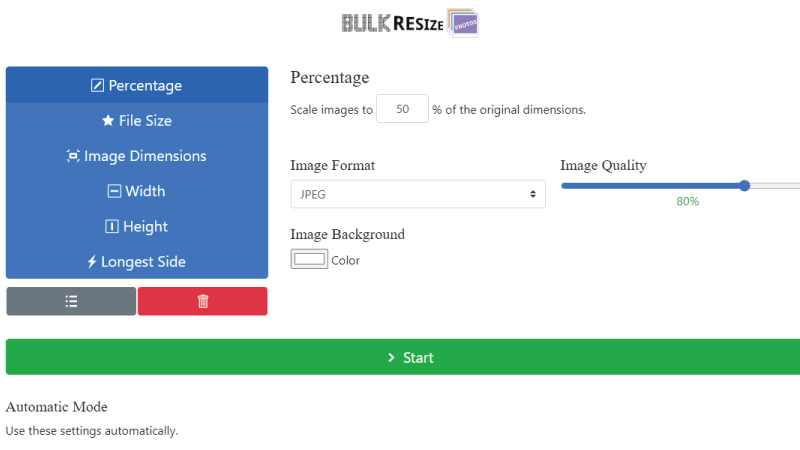
You will see the following interface on BulkResizePhotos once your images have loaded. You can manually enter the image’s width and height in pixels by selecting the “Image Dimensions” option here. From this point, you can select to resize the image based on its percentage and other factors. After entering the necessary values, all that is needed to start the resizing process is to click the “Start” button.
Step 3: Download the Resized Images:
Your photographs would be quickly resized by the online tool, and it would notify you when it was finished. Additionally, it will show the image’s scaled value and original size.
Now, all you have to do is click the “Download” option on the BulkResizePhotos website to save the resized image to your computer.
Conclusion:
As you can see, there are a plethora of options for resizing images in Windows 10. To make things simpler for you, I’ve provided desktop and online instructions on how to resize images. Additionally, you can use any third-party application or the built-in capability of Windows to resize an image. However, if you want to achieve greater results and discover a variety of additional image enhancement tools.